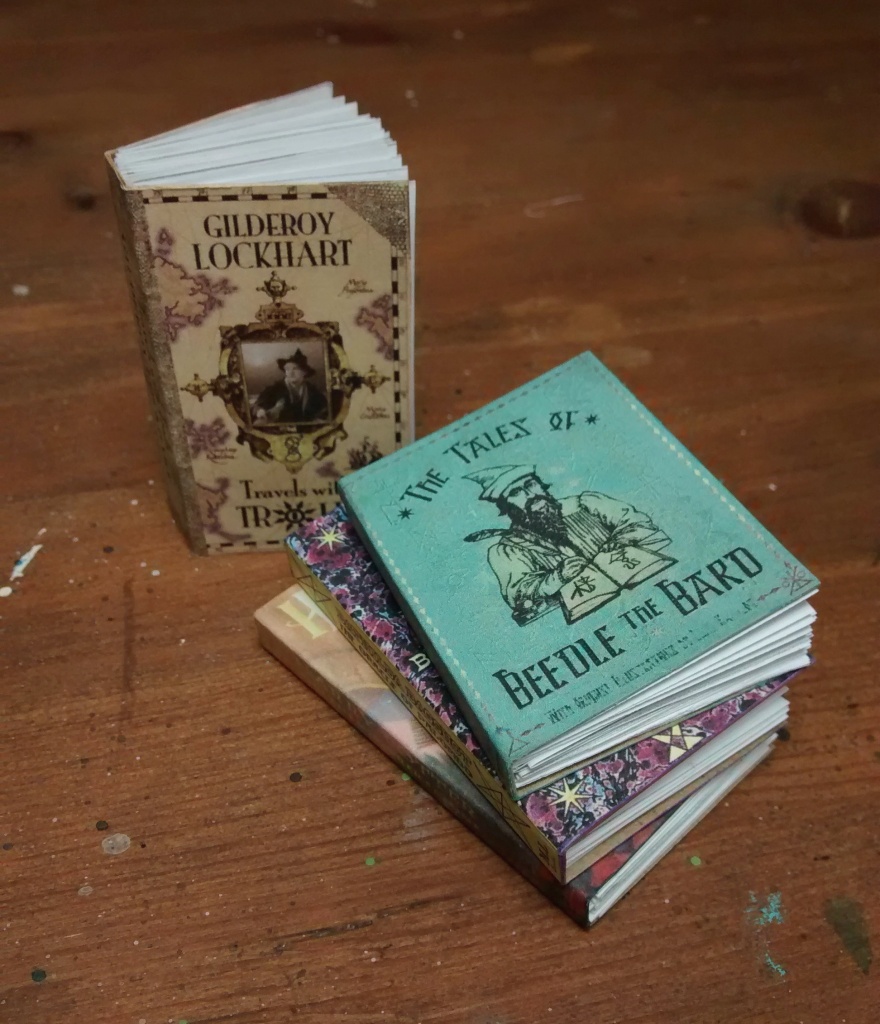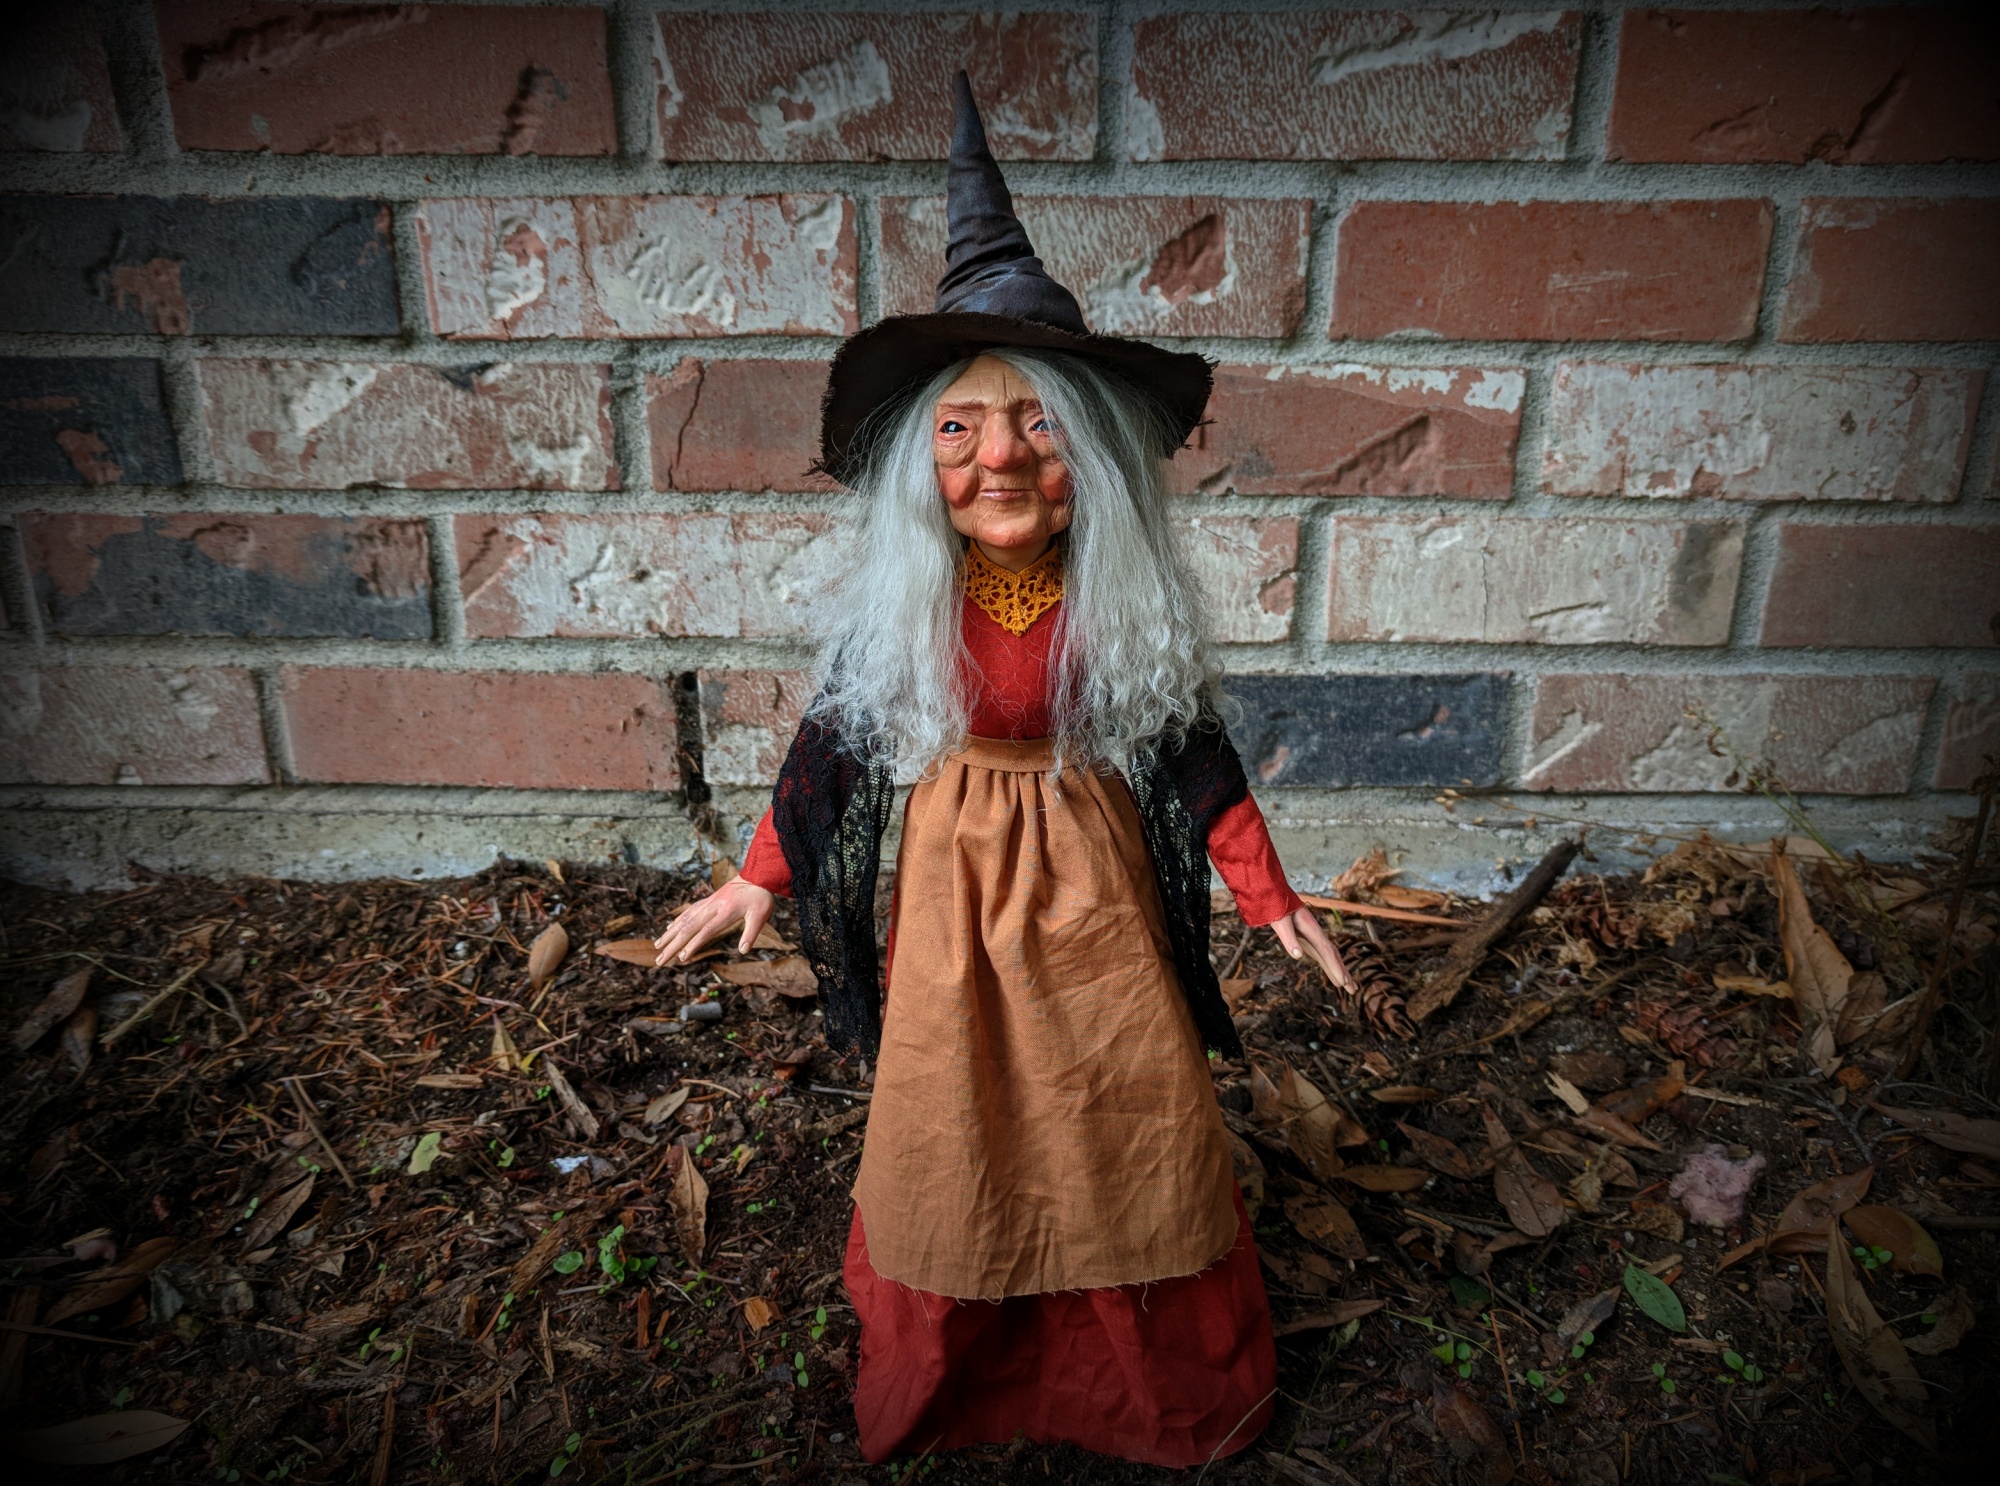
Last week I made a few miniature books, one of which was meant as a prop for my newest troll, Katrine. So many of you showed an interest that I thought it might be fun to show you how I made them. That way you can make your very own little library.
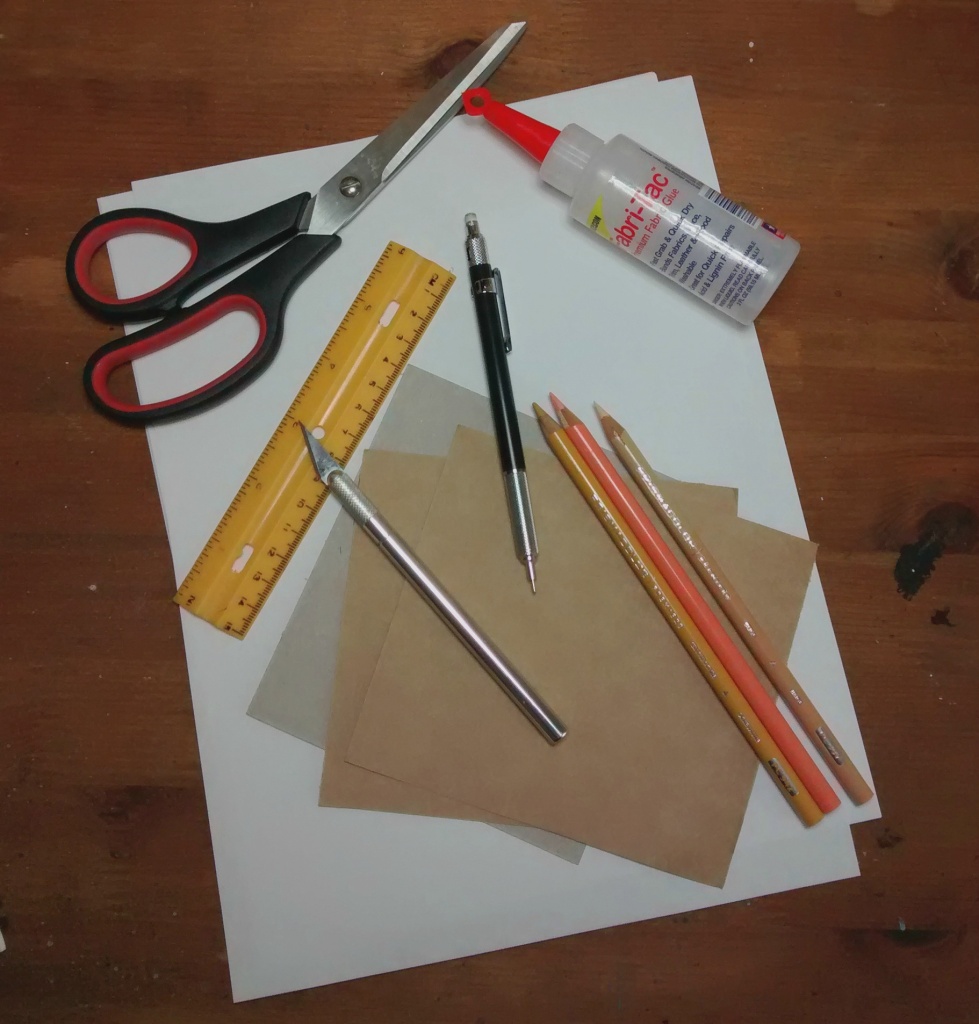
You don’t need much in way of supplies, just a few things you’d likely already have at home. In addition to this list you’ll also need to find and print a book cover, resized to as small as you’d like. As long as you are only making this for personal use, it doesn’t really matter what book cover you use. Just make sure that it has the front, the back, and the spine, all in one picture.
Supplies
- Glue
- Paper (white, unless you plan to make an old book with yellowed pages)
- Ruler
- Thin Cardboard (cereal boxes work great)
- Colored Pencils
- X-acto Knife
Instructions: How to Make a Miniature Book
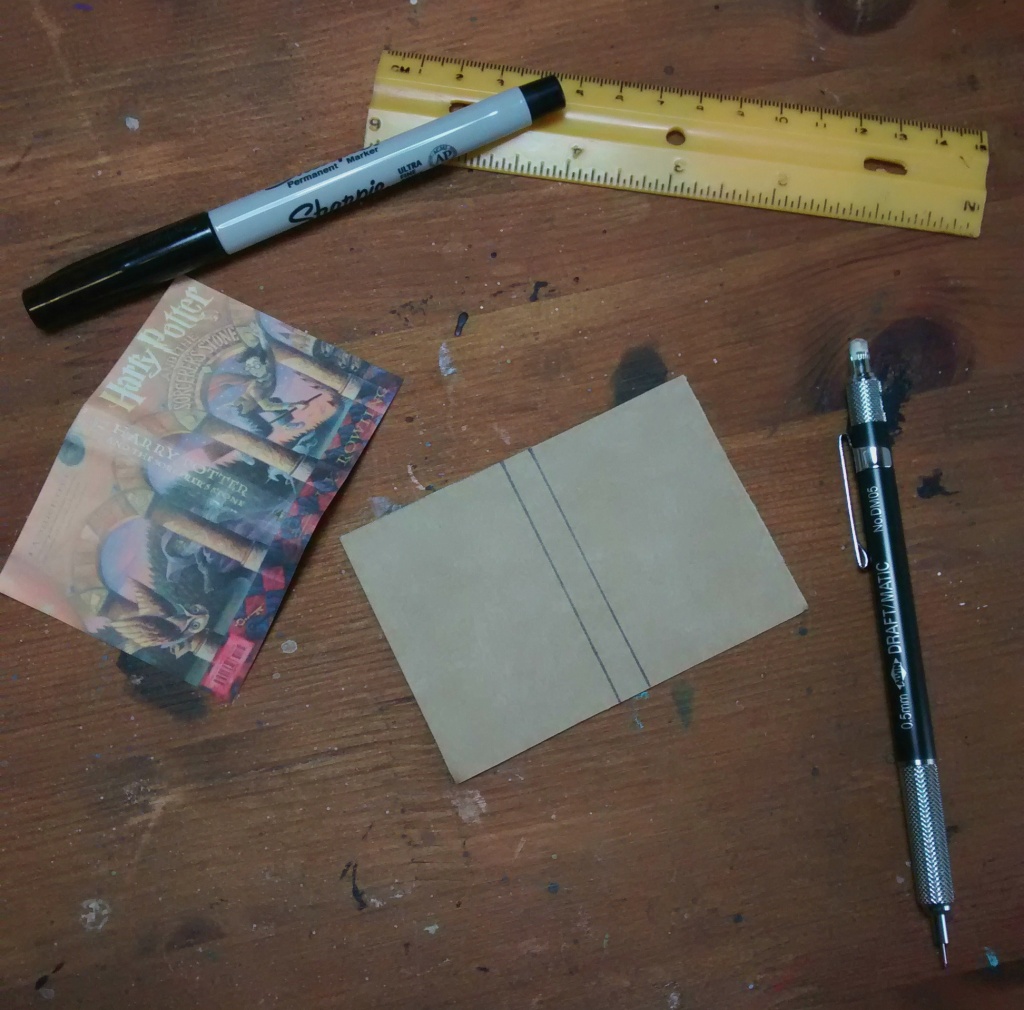
1. Print book cover & cut out
Make sure not to leave any white of the paper when you’re cutting out the book cover.
![]()
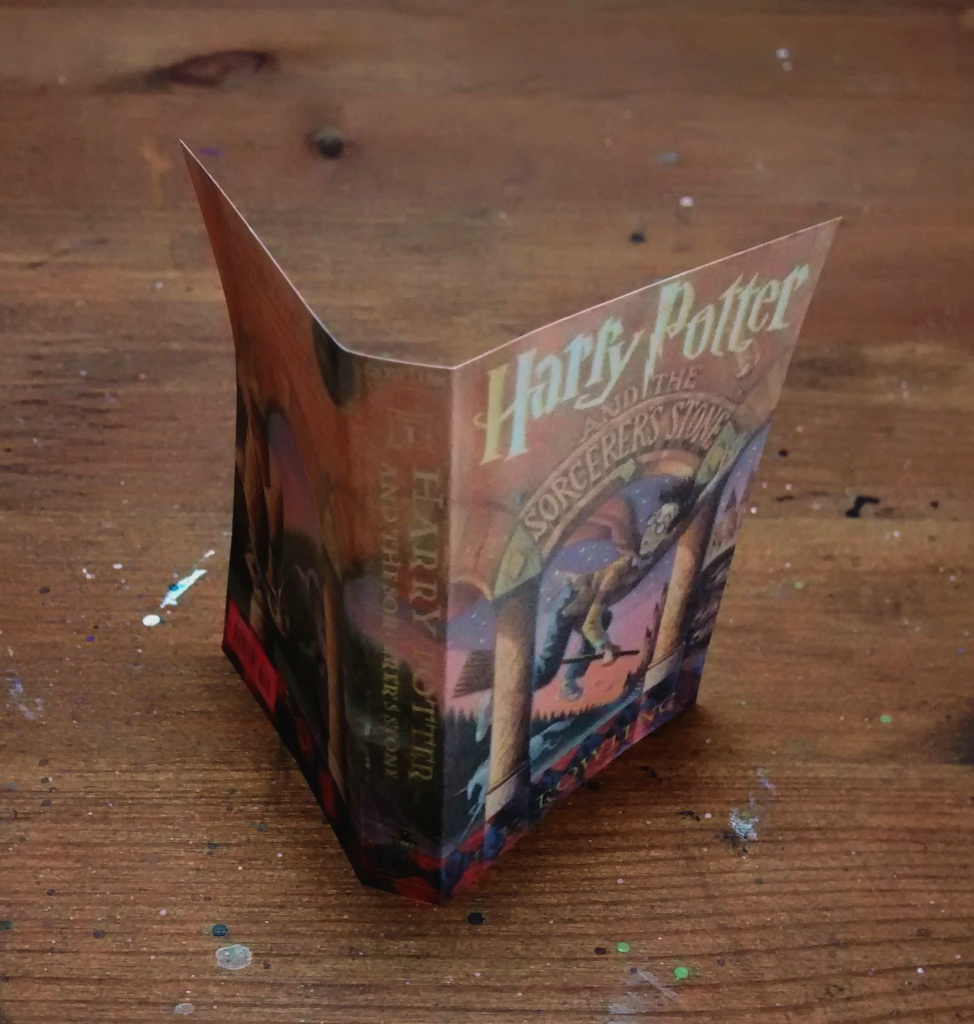
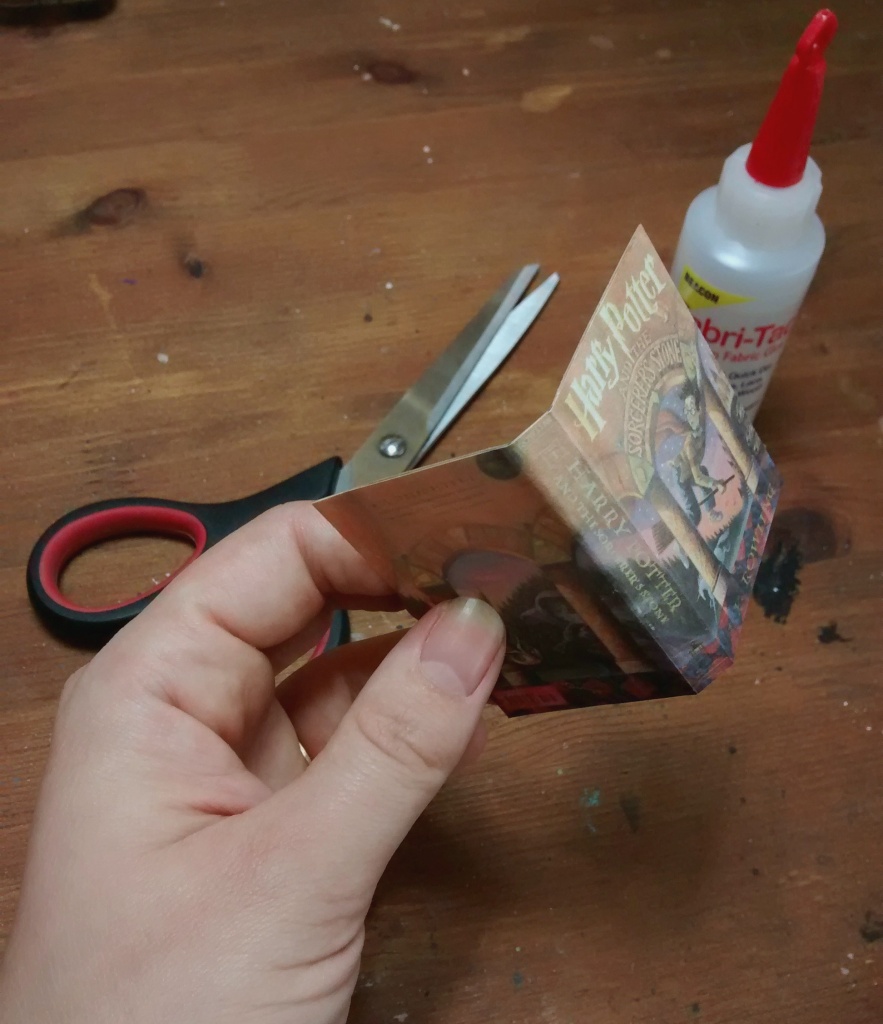
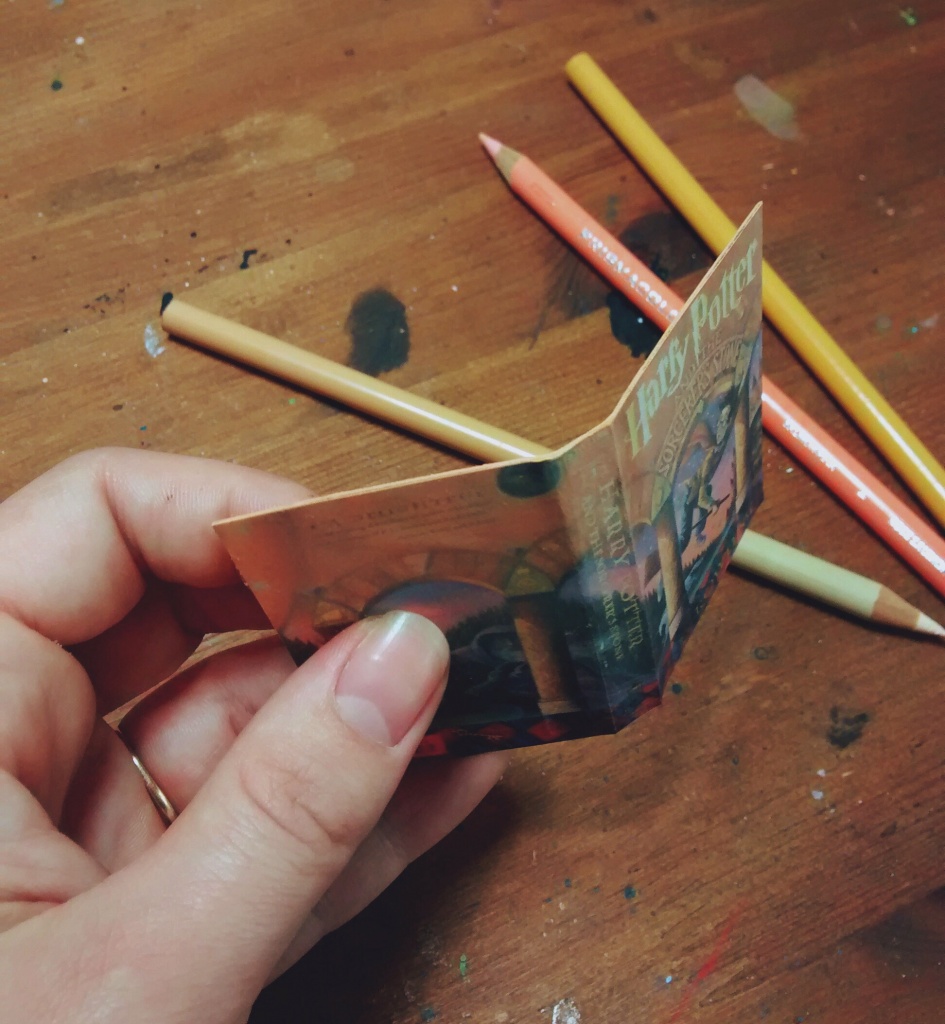
2. Fold along the spine
3. Trace & cut out cardboard
Lay the book cover flat on a piece of cardboard and trace around it. Carefully cut it out and mark where the spine is.
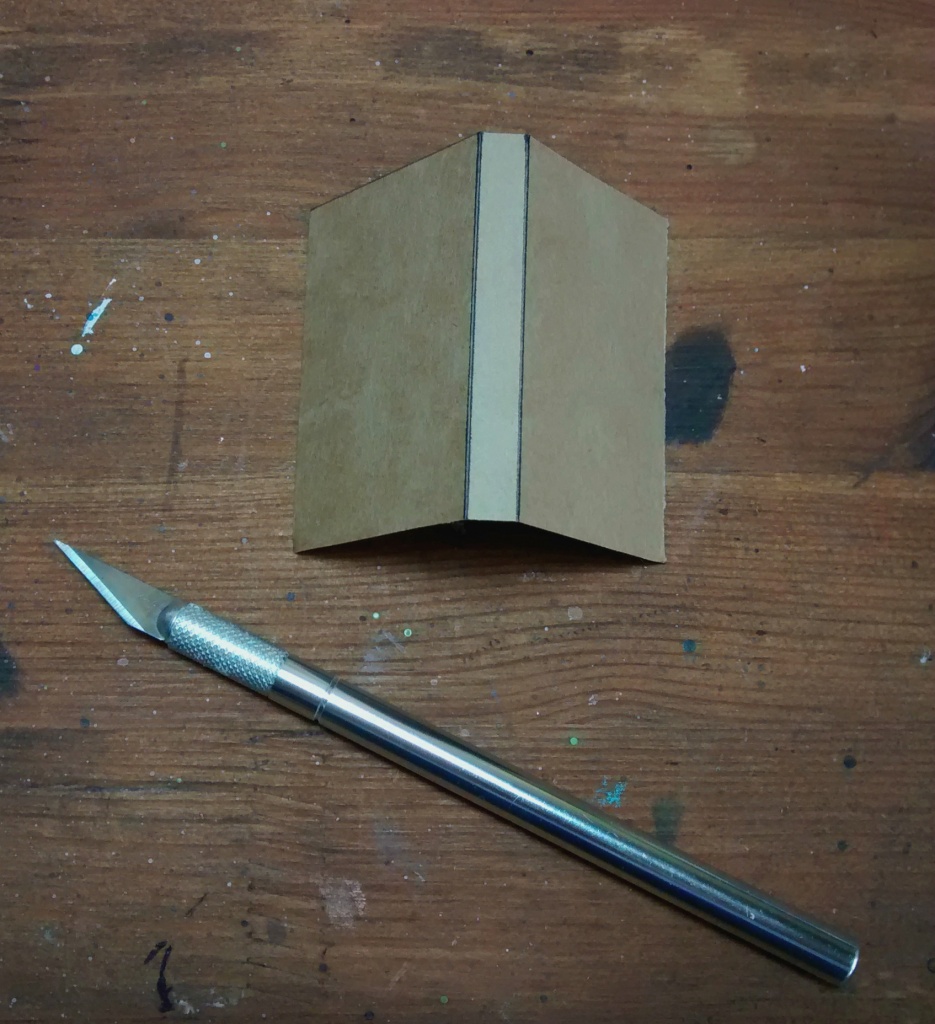
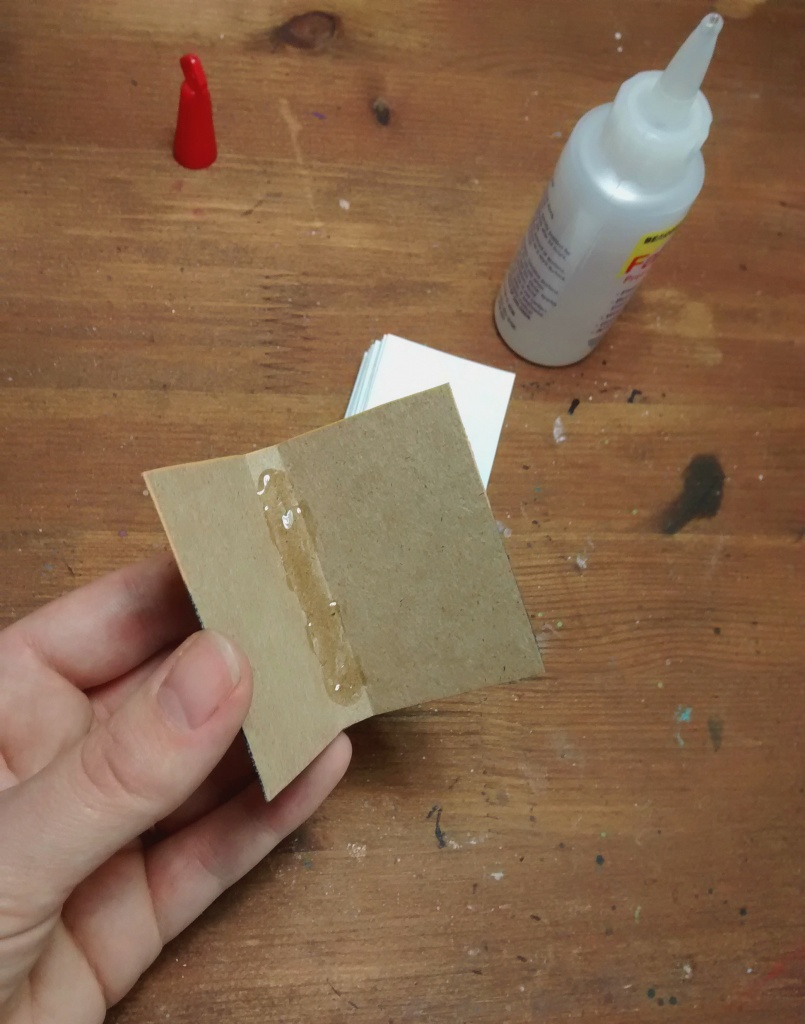
4. Score along the spine
Using the X-acto knife and a ruler, gently score where you marked the spine. But be careful not to cut all the way through. Fold the cardboard where you just scored.
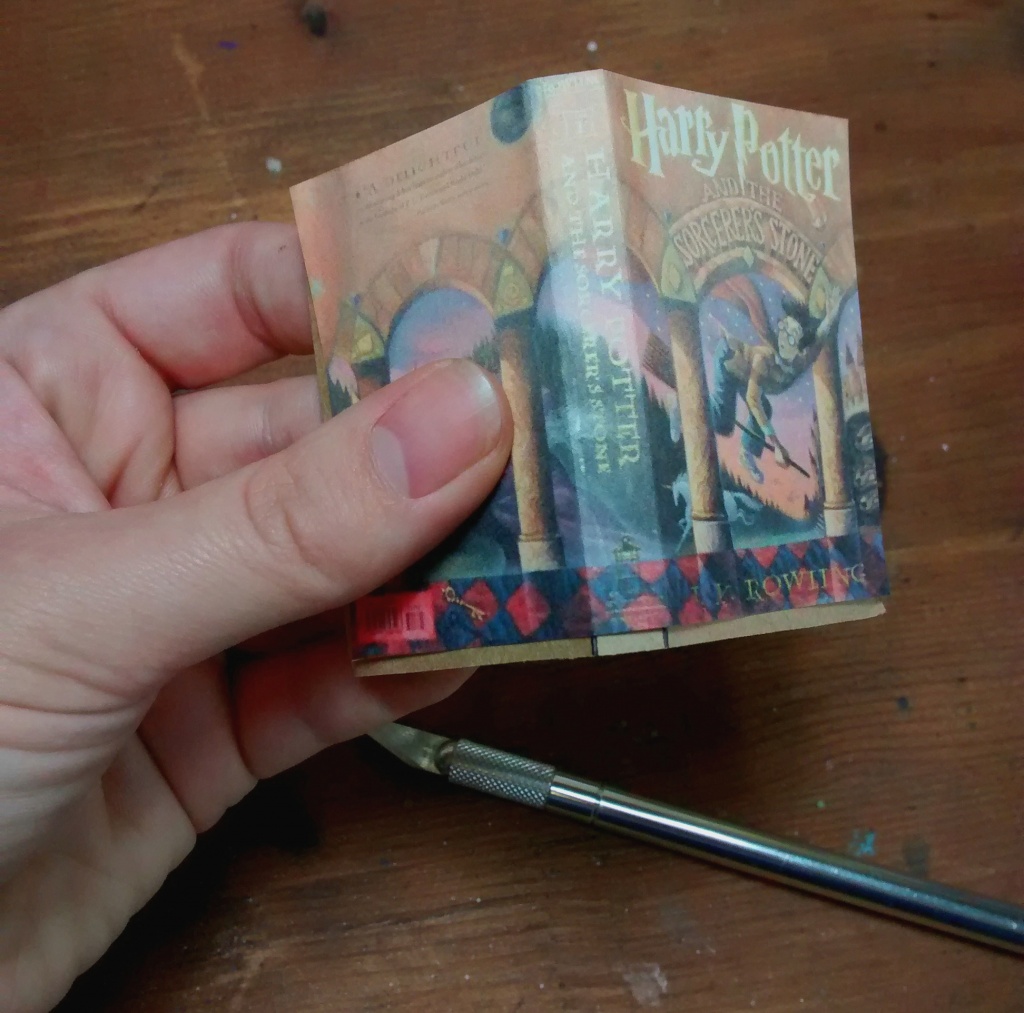
5. Check for a good fit
Lay the book cover on top of the cardboard and check for a good fit.
6. Glue together
Glue the cover and cardboard together, ensuring that the edges are glued down flat. Once dry, trim off any excess cardboard.
7. Color the edges
Using colored pencils color along the edges of the cardboard. In order to match the color to your book cover you may have to use several layers of different colors.
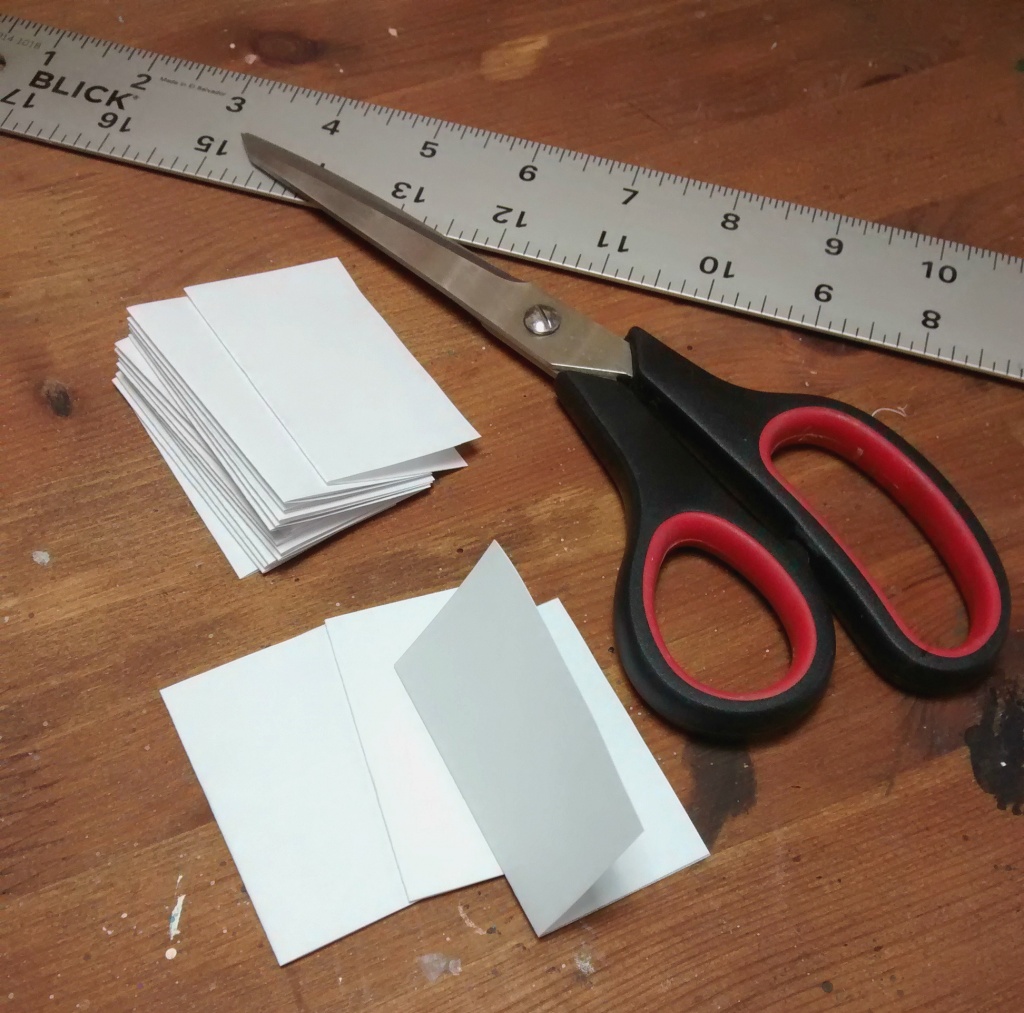
8. Cut & fold papers
Determine what size pages you’ll need to fill your book and cut them out. Fold each one in half and stack them on top of each other. Cut out as many as are needed to fill the book. If you’re making an old book it might be fun to try using yellow or tan paper to make the book look older and weathered.
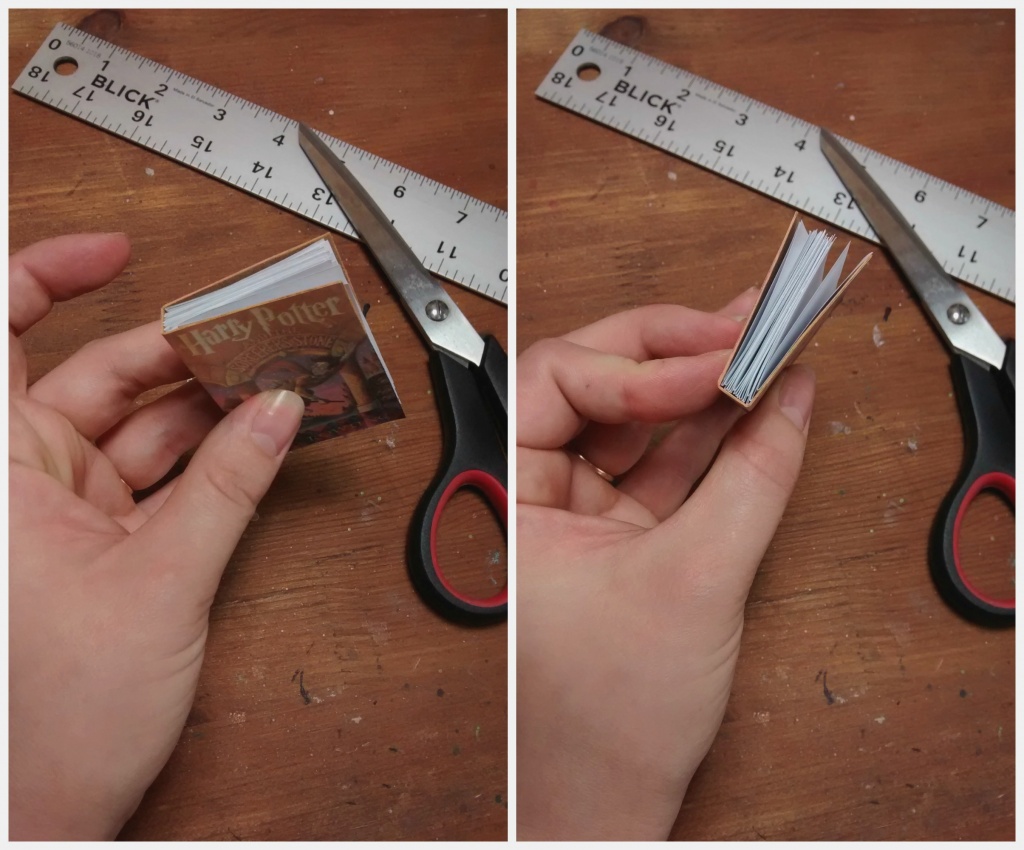
9. Glue to the spine
Stack your papers tightly together, place some glue along the inside of the spine and press the papers inside. You may need to hold in place for a few minutes until the glue dries. If you’d like your book to lay flat you can also add a little glue to each page and press together.
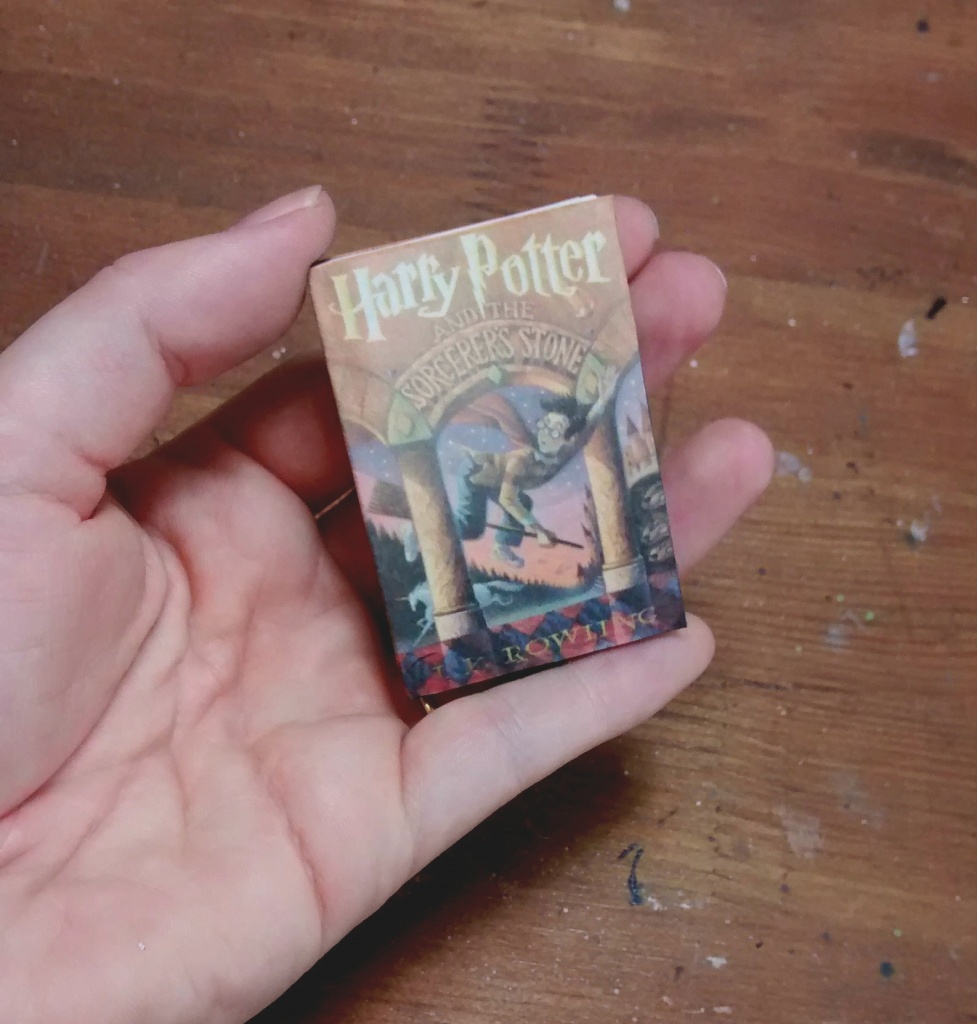
And there you have it: a tiny book!!
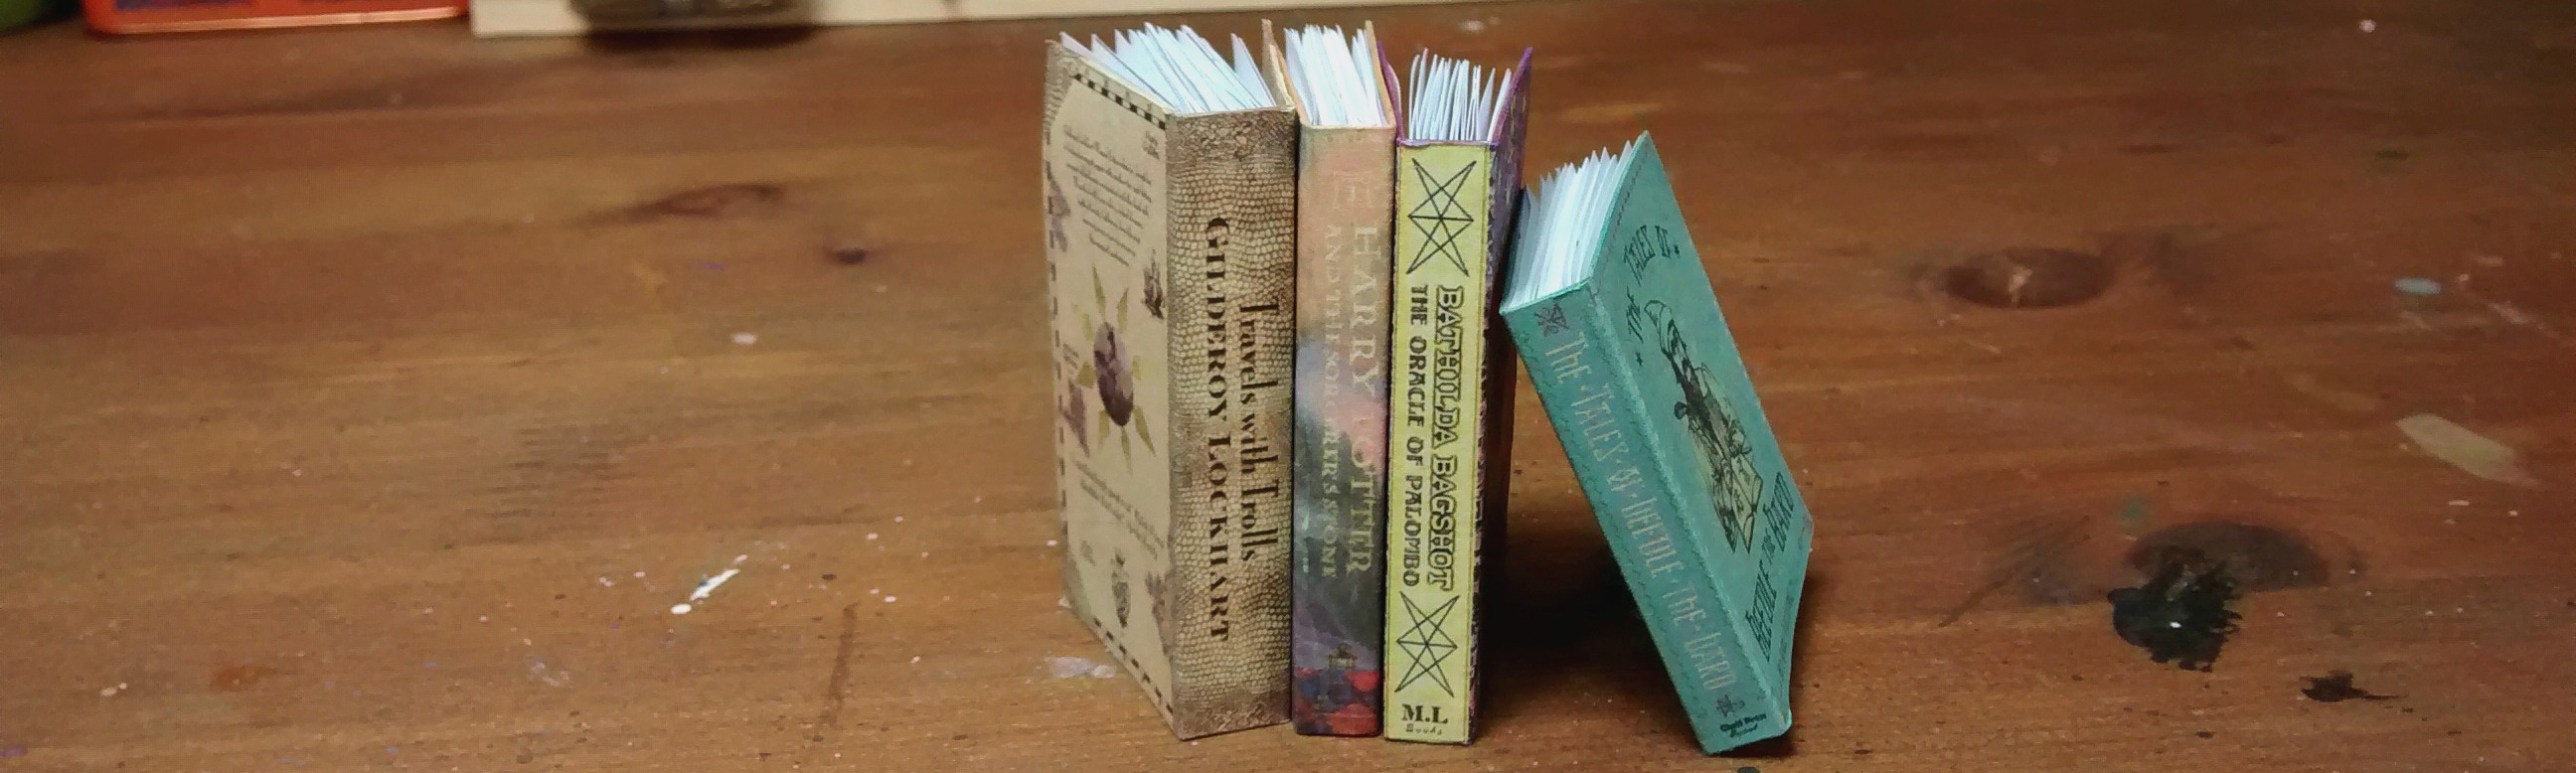
Now that you know how to make mini books you can build yourself an entire miniature library. I’d love to see what you create!!